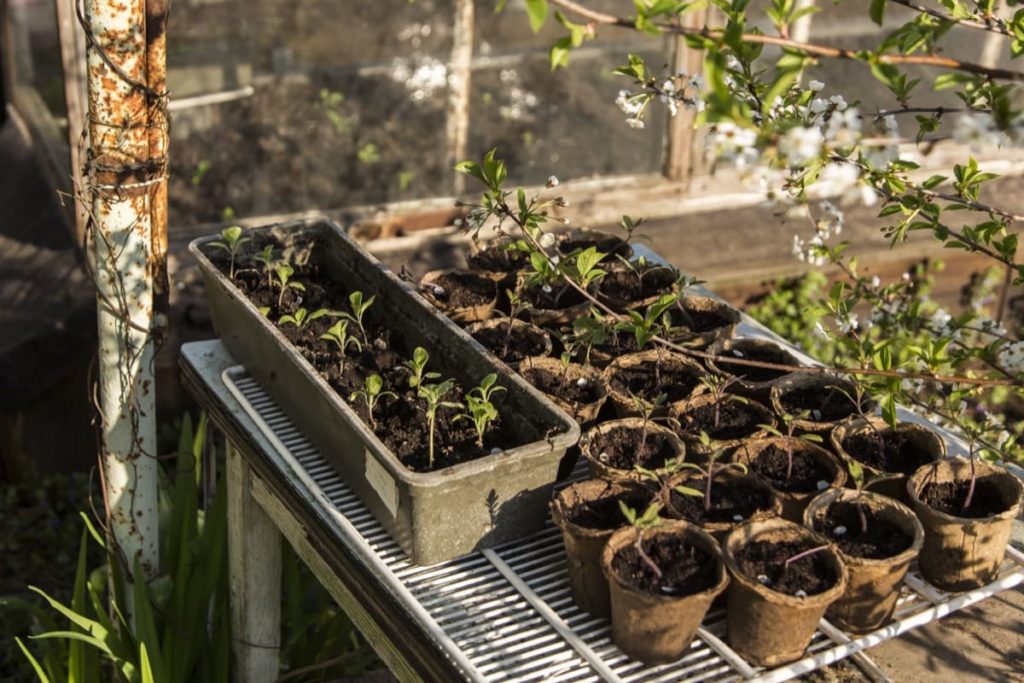
It’s so exciting and a money-saving move to start your own seeds. Yet, there are 9 common seed starting mistakes that will frustrate even the expert gardener. Learn how to avoid them!
9 Common Seed Starting Mistakes to Avoid

First of all, I want to say that every single person I’ve ever met has made at least one of the listed seed starting mistakes! After all, mistakes are how we learn, right?
Most of my own mistakes have been from a simple lack of knowledge. In other words, I didn’t read about how to successfully grow seeds! So follow these tips and have more seed starting success!
1. Not starting them at the right time
This is probably one of the biggest seed starting mistakes.
In my first year, I started too late and didn’t have flowers until summer. In my second year, I started certain varieties too early. I ended up having leggy seedlings that were difficult to harden off.
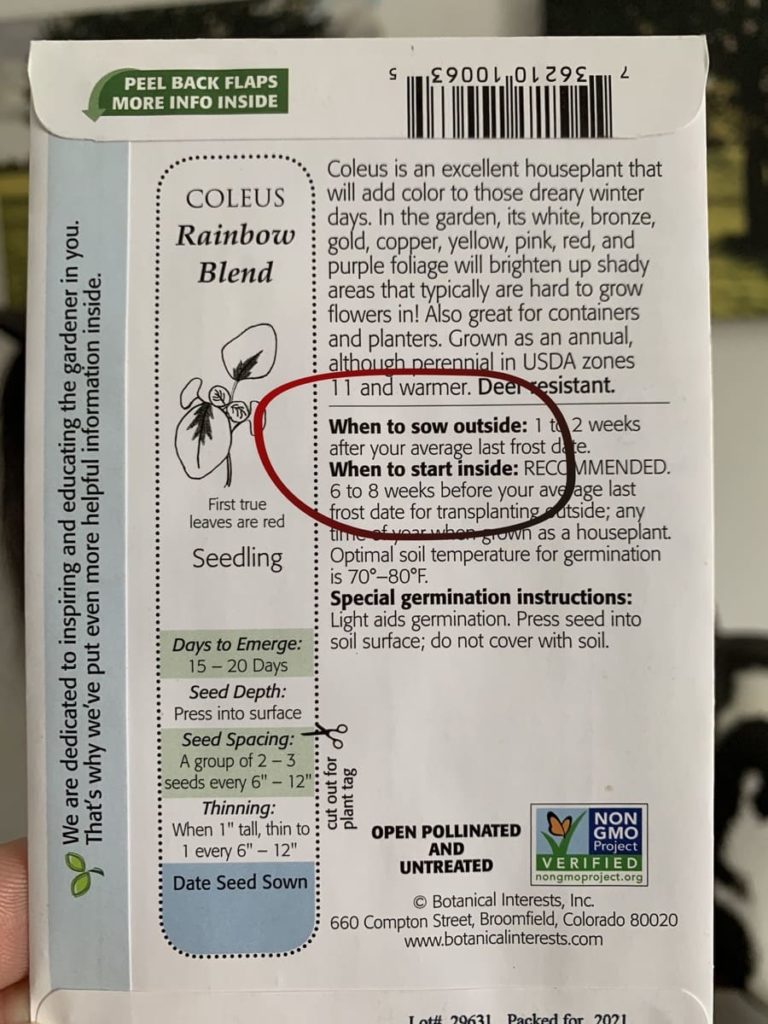
All would have been avoided had I read the instructions on the back of the seed packet or looked it up!
On the back of every quality seed packet are instructions for when to start the seeds, whether indoor or outside in spring. A simple Google search will also give you this information.
You’ll also need to find the estimated last frost date and honestly, just follow that.
You really can not go wrong with following these instructions; it will amount to success in starting them at the right time!
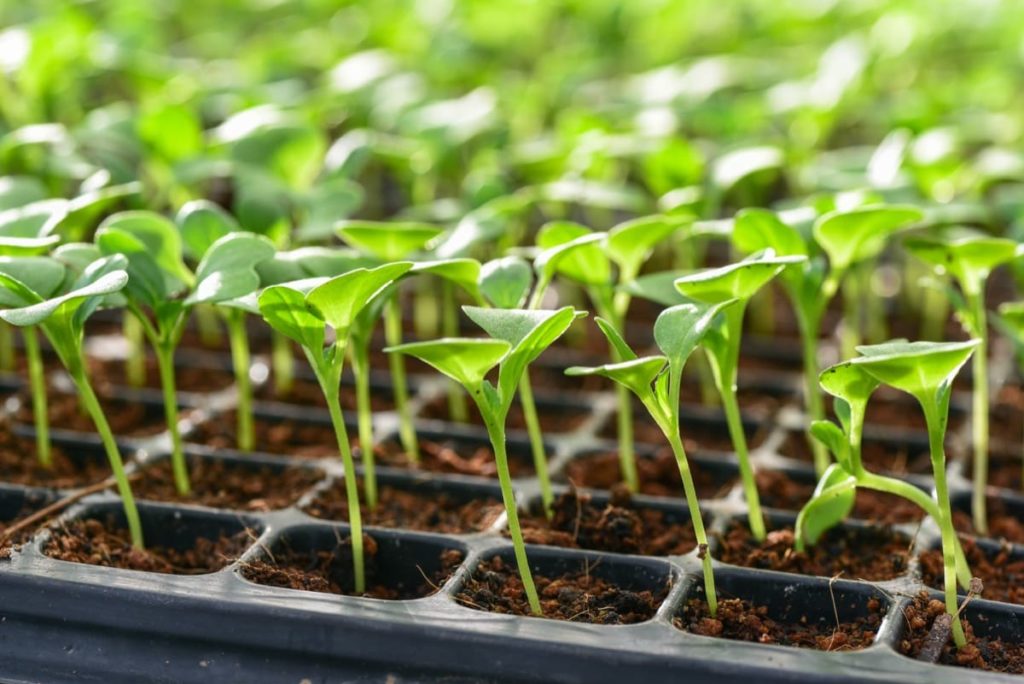
2. Not planting them correctly
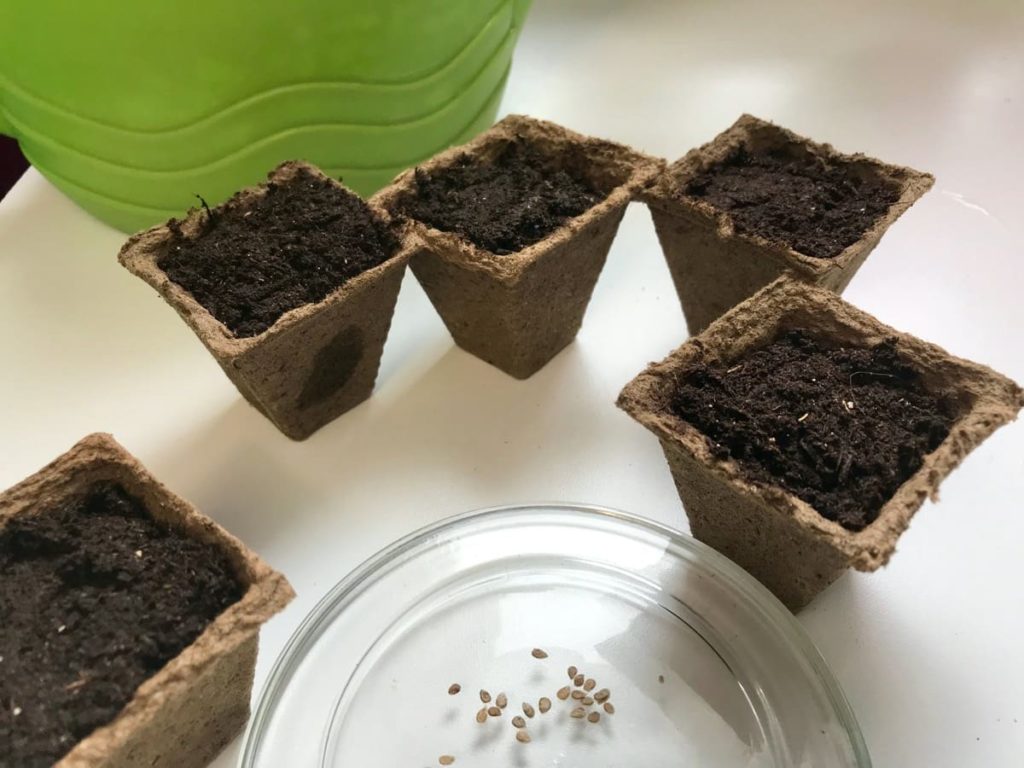
Not planting them correctly in the soil can cause a seed to not germinate or take too long to grow.
I’ve done this also, and it’s frustrating. You think you’re doing everything right, yet nothing comes up. Or a tiny, weak seedling comes up in the middle of summer.
- Some seeds need light to germinate, so it’s recommended to sprinkle them on top of the soil or barely cover.
- Others need a different variety of soil depths for successful growing.
So again, read the seed packet label thoroughly and follow the planting depth suggestion.
3. Too much water (or too little)
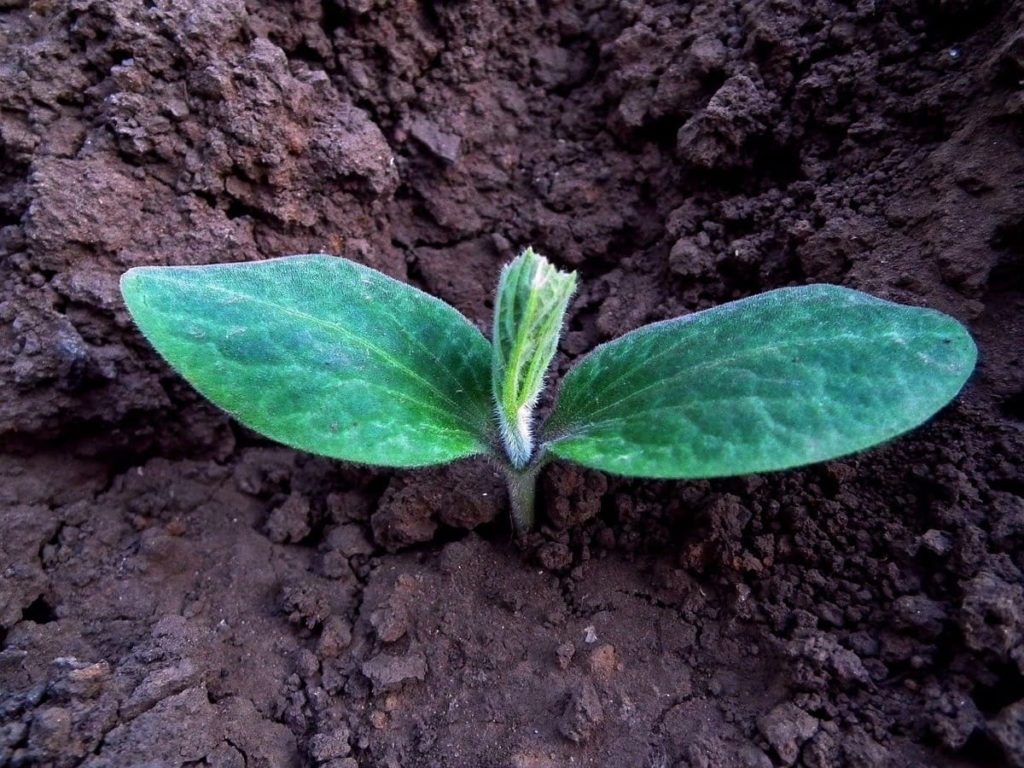
Too much or too little water is another one of the leading seed starting mistakes we all make.
Too much water will simply drown a seedling or seed, and too little will kill them just as quick.
You want seedlings to be kept lightly and evenly moist but not wet and never allowed to dry out.
This usually means watering once a day or at least every other day.
I’ve found the best way to water seedlings is to water from the bottom instead of the top.
- I put about a half-inch of water in the tray and allow them to soak it up, adding more if necessary. Once the top looks moist but not water-logged, I dump the water out.
- Also, with top watering, I’ve accidentally knocked over the tiny seedlings from the water’s movement. It’s hard to gently re-position them!
Before the seeds sprout, I often will use a spray bottle of water to moisten the soil.
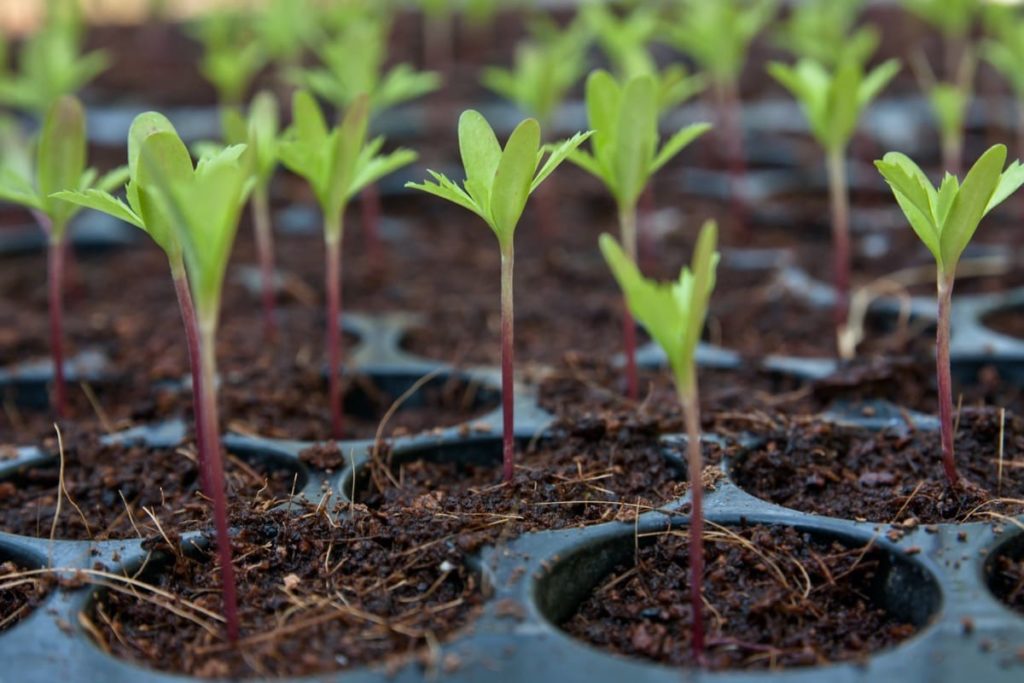
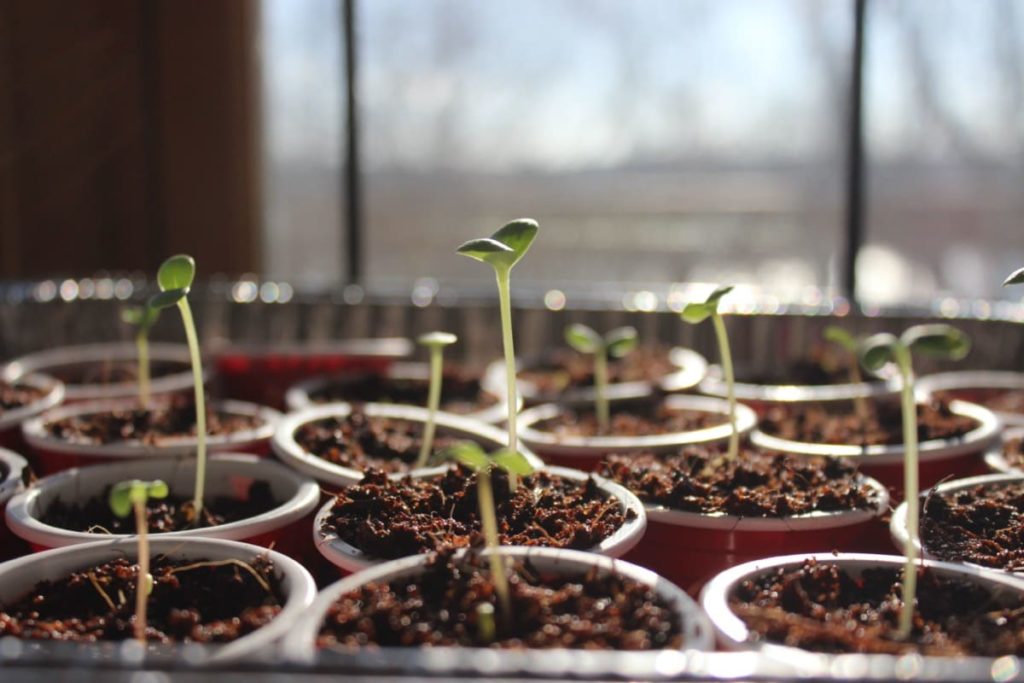
4. Not enough light
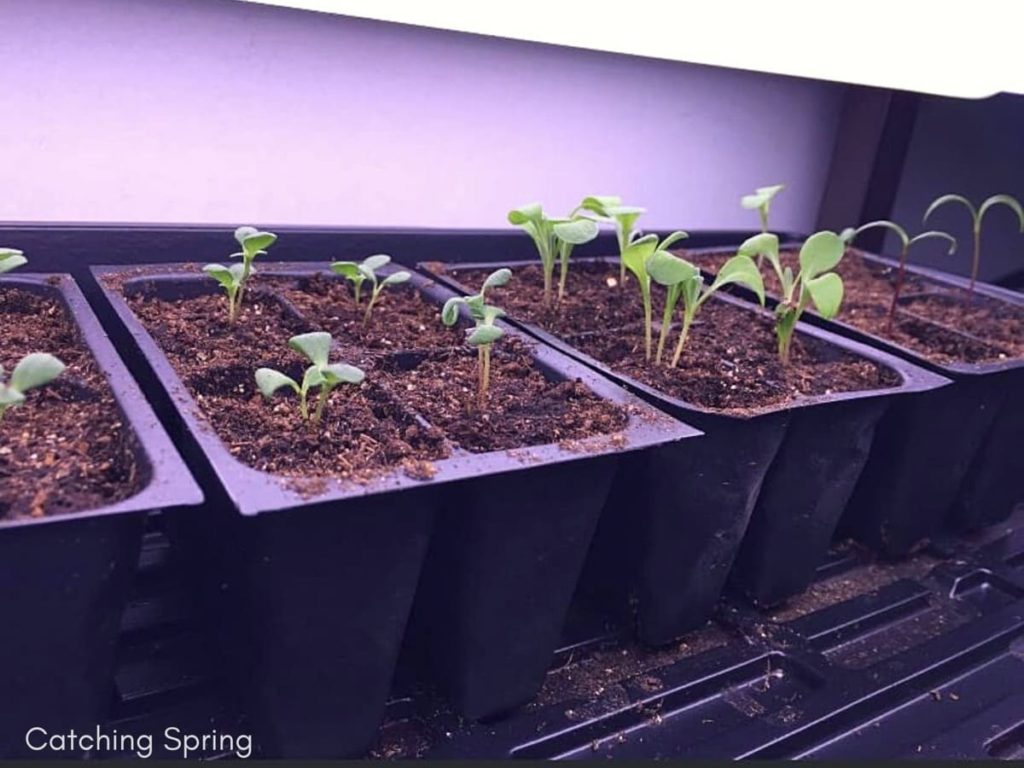
Not enough light is one of the seed starting mistakes that will most definitely cause leggy seedlings! You don’t want leggy seedlings; this is not a healthy plant!
We’ve all seen the plant grow almost sideways, yearning for the window or nearby light. This means it isn’t getting enough light.
A simple growing light will fix this problem immediately. It doesn’t have to be an expensive outfit; I found a simple tabletop light to get you started will suffice.
I eventually bought my favorite two-tier growing light stand from Burpee and 2 more tabletop growing lights.
I place the lights right down over the seedlings, just about an inch from them. This helps prevent leggy seedlings as the plant isn’t reaching to the light.
Most of the time, a sunny window just isn’t enough, I’ve tried.
Also, seedlings need a full 8 hours of dark sleep, and growing lights can be put on a light timer. It’s a perfect solution!
5. Too cold
Whether the soil is too cold or the room the seedlings are in is cold, both seed starting mistakes can cause a seed to not grow or a seedling to die.
Soil that is too cold also has a higher risk of growing mold or having other issues.
Think of it this way, cold soil or air can mean winter to a plant trying to grow, and what happens to our flowers or plants in the winter? Annuals, perennials, and vegetables alike all die back.
A small heated mat can make the soil warm enough to cause growth, and a small space heater (if needed) can keep your room over the required temperature for growth.
It’s essential to follow the manufacturer’s instructions for the mat and also take the seedlings off it as soon as they sprout.
Once again, checking the back of the quality seed label will give you the information you need for heat requirements.
6. Not the right soil
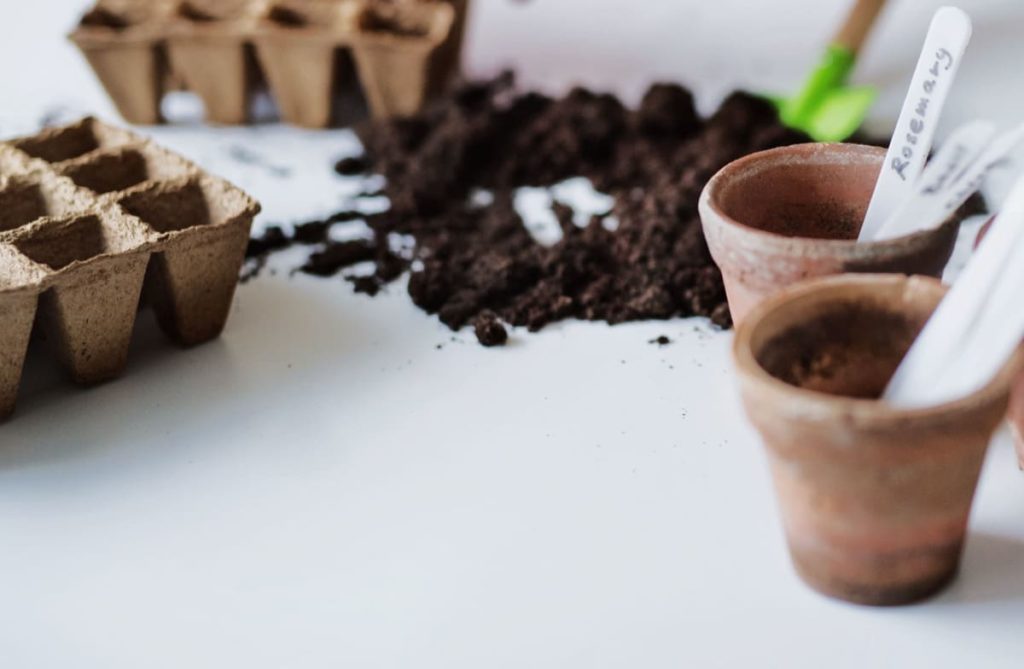
Choosing the wrong soil can cause a seed to be doomed before it even tries to grow.
Choosing soil from your outside garden or simple potting soil from a bag is not a good idea.
- There are many microorganisms and tiny weed seeds in your outside garden soil that the naked eye can not see. These can cause many different problems for your seed or seedlings.
- Simple potting or gardening soil from a bag can be too dense for new seedlings or hold too much water. Some of these soils can cause the seedling to grow too fast, making them weak, leggy, or not growing at all.
Seed starting mistakes such as this one are often a surprise to beginners, but it really makes a difference.
I highly recommend buying a small bag of organic seed starting soil. It’s specially formulated, clean, and free of harmful things. Also, you’d be surprised how long a bag of this stuff can last!
7. Not cold-stratifying
It’s important to find out if your seeds need to be stratified. Some need cold-stratification, and some require a moist-cold stratification. Not doing so will cause seeds to not germinate and grow.
You can usually rule out any annuals or vegetable seeds needing stratification, but it’s still important to read the seed packet or look it up.
Generally, it’s your perennials that will need this treatment. This is because a perennial has a hard shell around the seed to protect it from a cold or harsh winter.
- I will usually stratify my seeds by placing them in a labeled envelope and into the refrigerator for cold-stratifying.
- If they need moist-cold stratification, I place the seeds between a very lightly damp paper towel, into a sandwich bag, and into the fridge. I also poke a few holes in this bag to prevent mold. I check the paper towel from time to time to see if it needs to be misted with water.
The time frames are most often between 30-60 days, but some seeds require more. Check the seed packets or online to find out how long they need.
Note that some also need scarification. This is usually done after the outer seed shell is softened (from stratification or soaking). The seed is then very lightly rubbed between sandpaper or nicked with a small knife. The second option should only be done with a very steady hand, for if the inner seed is cut, it won’t grow.
Not stratifying or scarifying are seed starting mistakes that can easily avoided by looking up information on your flower variety.
8. Not giving them a workout
Not giving your seedlings a “workout” to strengthen their stem will make them easy targets for not only high winds but just a simple spring breeze.
- To do this, simply place an oscillating fan (on low speed) on growing seedlings throughout the day. Turn the seedlings every day, so they get a different “wind” angle.
- Having the fan on for a few hours is better than nothing, for the stem needs to be strengthened to live outside.
- I try to put my fans on the timer with my lights. One less thing to try to think about or remember during my busy days!
I don’t know why, but out of all these seed starting mistakes, this is one I made for a couple years in a row.
I paid for this oversight dearly with beautiful flowers that broke, bent, and grew sideways in all sorts of weird shapes from the wind.
They really need the workout, even if it’s warm enough to put them outside in a mostly-shaded area during the day (until they get used to the sun). They need to get strong.
9. Not hardening off
This list brings me to the one that will take away most of the beauty from all your hard work and cause so much unneeded stress to your seedlings, not hardening them off.
Hardening off means getting them used to the outside elements before planting them in the ground. The wind is one of them, but the biggest one is the sun.
When seeds are grown indoors, they don’t produce the chemicals they need to protect them from the sun’s UV rays. They will literally burn up just like we would!
I’ve also made this mistake and ended up with almost ugly plants. Unfortunately, it takes them half the summer to recoup, if they ever even do.
How To Harden Off
- When it’s warm enough outside, take your seedlings and place them in the shade or very lightly sun-dappled area for a couple of hours.
- Do this daily, adding an hour or two each time.
- Each day, place them in an area with a bit more sun, this has to be gradual, or they’ll burn or wilt! (Remember to add the sun only according to their care. You won’t expose shade-loving plants to full sun just to “harden them off.”)
- Do this for at least 7-10 days until your seedlings are hardened off and used to the elements.
- You’ll want to watch for soil dryness as they will dry out quickly outside.
- You’ll also want to watch for seedlings in distress (wilting, burning, falling over) and bring them in immediately and water if needed.
- Also, watch out for animals, birds, or insects because your seedlings are very fragile right now.

Are you gone to work during the day our going out of town? You can use a small net tunnel to protect them from the changing sun during the day. It works really good to protect seedlings.
Taking these steps to successfully harden off your seedlings will keep them healthy, strong, and beautiful and give you a lot more seed starting success!
Finally, remember to be patient with this whole process and with yourself. As with anything else, practice makes (almost) perfect. 🙂
And even with the best planning and care, we’ll still lose some seedlings and find some seeds that just won’t germinate. It happens!
I hope this guide to preventing these seed starting mistakes will help you create a yard full of beauty and food!
Please comment below about your own seed growing, would love to read them. Happy planting! 🙂
Leave a Reply