Not only does starting seed indoors help you get a jumpstart in your garden, but it can also be substantial money savings. And you can grow varieties not easily found at your local greenhouse. But how to start? In this complete guide, I’ll share 9 easy tips from when I first started growing plants from seed.
Beginner’s Guide to Starting Seed Indoors – 9 Easy Steps
The same year I started raising Monarchs by saving their eggs from the milkweed in my horse pasture, I started growing my own seeds indoors.
It was then that I realized something, I totally love watching things grow! It’s a good feeling to know that the beauty you see blossoming results from your loving care.
But where to start? I’m hoping to answer the questions I had when I first started in this beginner’s guide to starting seed indoors. Any other questions, please leave them in the comment section below! 🙂
1. Choose which seeds to grow
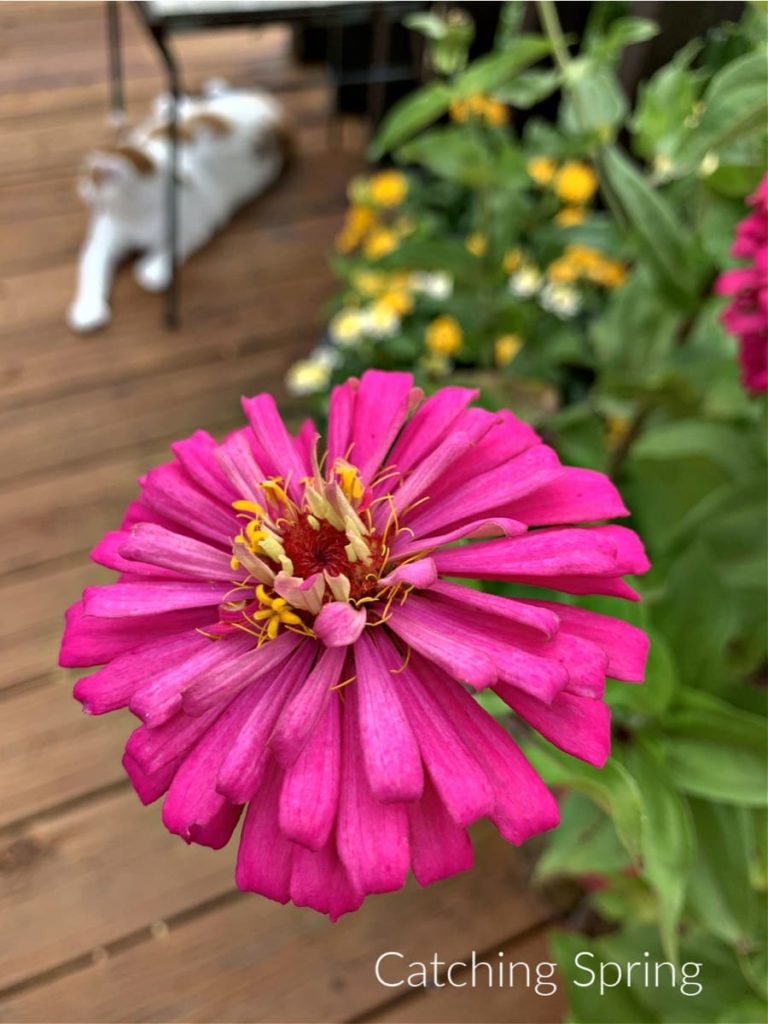
There are SO many different varieties of flowers and veggies to start from seed! And take it from me, it’s so easy to over-grow.
As far as vegetables, I usually only start tomato plants inside, but flowers? Watch out; this girl is addicted and on a mission to populate the world with flowers for pollinators and all-around beauty, haha!
If you’re unsure, you can start with some easy-growing flower seeds, such as:
- Zinnia
- Coleus
- Cosmos
- Marigold
- Alyssum
- Nasturtium
- Impatiens
If you’re leaning more towards starting vegetables, some easy-growing seeds are:
- Tomatoes
- Green beans*
- Kale
- Peppers
- Most herbs like basil
*Please note that green beans grow exceptionally fast, so if you start them indoors, make sure you can transfer them outside in time.
It really is just a matter of what you want to grow. There are many quality seed catalogs (both online and physical catalogs) that the variety is endless and addicting.
I always choose non-GMO, untreated, and open-pollinated seeds for the best and safest quality. This is my rule whether I am starting seed indoors or sowing right into the ground.
PRO TIP: Although most seeds will show a packaged year, they can last much longer. No need to use up the whole packet!
2. Know where you’re planting them
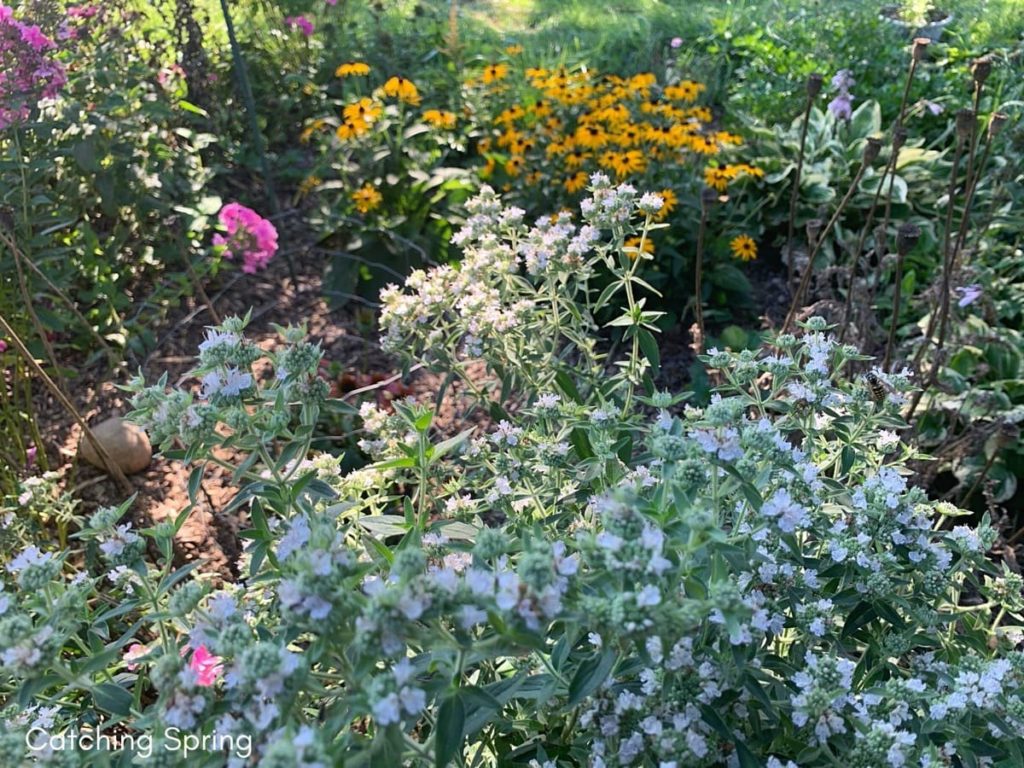
Every year it’s the same thing for me; I fall desperately in love with a million different flowers, start a ton from seed, and then walk around the yard saying, “where can I plant these?”
Haha, so I’ve learned to plant a little less when starting seed indoors.
Luckily I’ve always found a place to plant them, and I LOVE a ton of flowers, but still, it’s wise to know where they’ll go when it’s time for them to go outside.
Mainly if you have limited space.
It’s always fun to offer my flower-loving friends some plants too, though. They are always appreciated!
You can always plant the annuals in pots and containers, too. It spruces up the whole house!
Also, know that once your seedlings start getting bigger, they will outgrow their little cells and need a bigger pot. Do you have room for that inside?
3. Start them at the right time
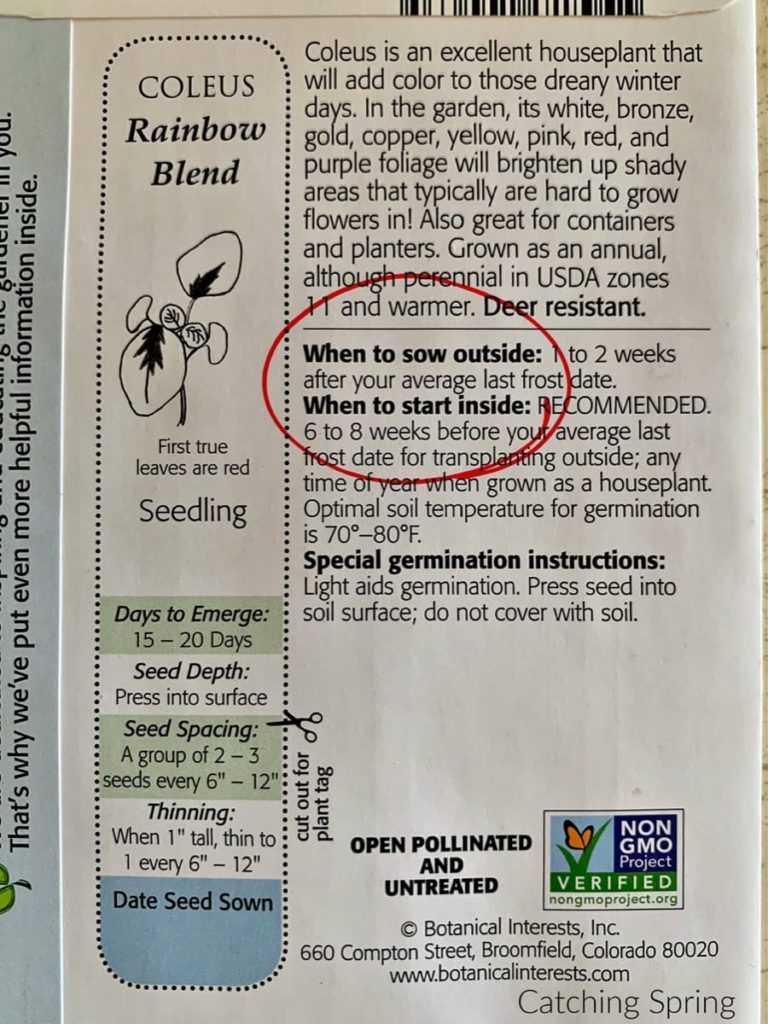
My first attempt at starting seed indoors was too late in the year. I really might as well have started them outside!
The next year, some plants, mostly my tomato plants, were started too early. This left them too big, a bit leggy, and a little more challenging to get ready to be outside plants.
My rule of thumb is quite simple, follow the directions on the back of the seed packet!
- You can figure out your last frost date quickly and go from there. I know the weather is unpredictable, but you’ll be close enough for sure.
- You can also use this helpful seed-starting date calculator. It helps you figure out just how long you need from starting seed indoors to transplanting them outside.
PRO TIP: Check to see whether your perennial seeds need cold-stratification or not.
4. Gather your supplies
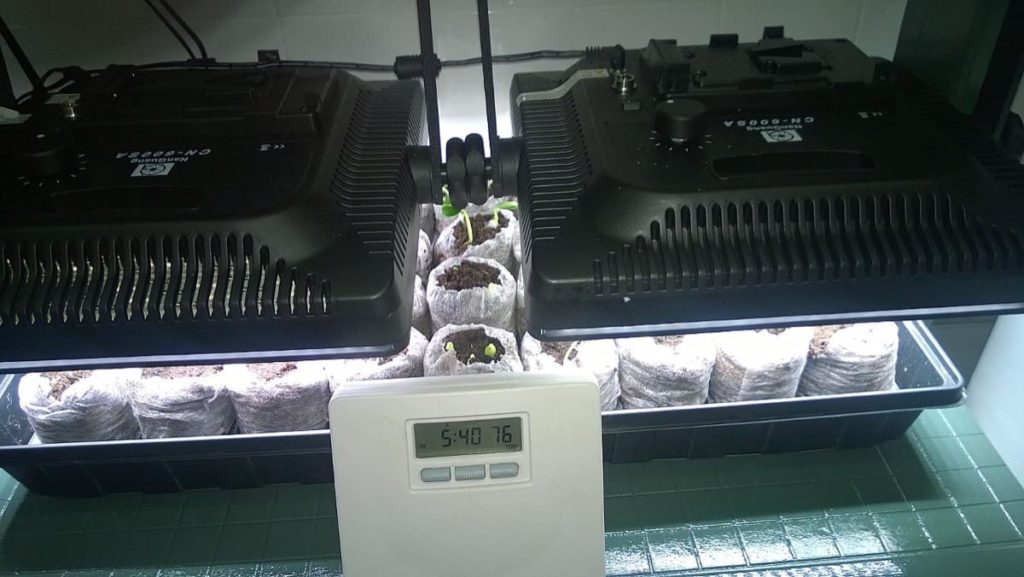
This fun hobby is rewarding and even a little expensive if you want to go all out. But no worries, you can definitely keep the price down.
Do know that anything you buy will pay itself off almost right away. Growing seeds is a big money-savings!
I will list below the things you may want to gather before starting seed indoors, along with some optional supplies.
I do not suggest anything I personally don’t own or use! The final decision is yours, but you WILL need a few things to start with.
- Organic seed starting mix (it’s different than potting or garden soil!)
- Growing containers
- Heat mat (optional)
- Grow light (this COULD be optional, but I highly suggest it!)
- Plant ID tags (optional)
- Timers (optional) – for your grow light
- Plastic wrap or a dome lid
Growing containers can consist of many things. My favorites by far are biodegradable peat pots, peat pellets, seedling starter trays, and larger seed trays. I’ve also been reusing the small containers you get when you buy a 6-pack of flowers from a greenhouse; I just make sure to clean them first.
You could also use eggshells, egg cartons, or other recycled containers. Just make sure they are cleaned first.
As far as a grow light, you can always try the sunny window method. However, most of the time, that is just not enough. Your seedlings will not get adequate light and will reach for that window, becoming leggy.
Once a seed sprouts, it needs 12-16 hours of bright light and 8 uninterrupted, dark hours of sleep.
A grow light gives seedlings precisely what they need, especially if you set to a timer.
If you don’t want to use plant ID tags, then I strongly consider a method of keeping track of what you planted.
There have been way too many times I have forgotten what I was growing because of my lazy record-keeping. You can always use popsicle sticks or anything creative like that!
A definite must, though, is your organic seed starting soil. Starting seed indoors isn’t hard, but tiny seedlings can be susceptible to all kinds of pests or diseases. Some of which you may not realize are in regular potting or outdoor soil.
A bonus is you’ll never have to worry about weeds crowding out your babies!
You will also need either a dome lid for your starter trays or plastic wrap. This will be placed lightly over your seeds to help with germination, as this gives them the humidity they need to grow quicker.
PRO TIP: Start small and work your way up to what you feel you need for your own seed starting success!
5. What to do when they sprout
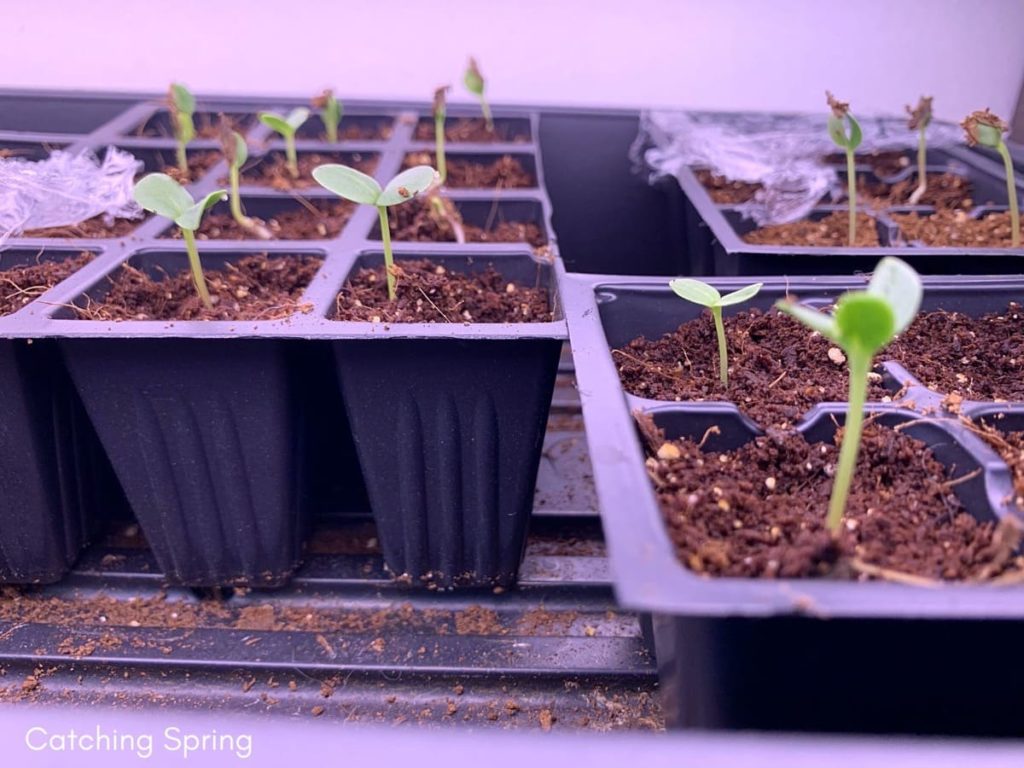
When starting seeds indoors, I check my seeds daily. Those like zinnias and cosmos sprout almost instantly, it seems like! Zinnias seriously do come up in just a day or two!
If I see any bit of green at all, I will remove that cell or pot only, remove the plastic wrap, and place it under my grow light.
For this reason, I like using plastic wrap because if I’m using a cell tray, I can cut the plastic away from the sprouted seed. Then I can move the whole thing under the grow light, leaving the rest covered.
I’ve also cut the cells away from the others to leave the non-sprouted seeds on the heat mat.
You’ll find what method works for you. The important part is getting them out from under that plastic and into some direct light.
6. Seedling care
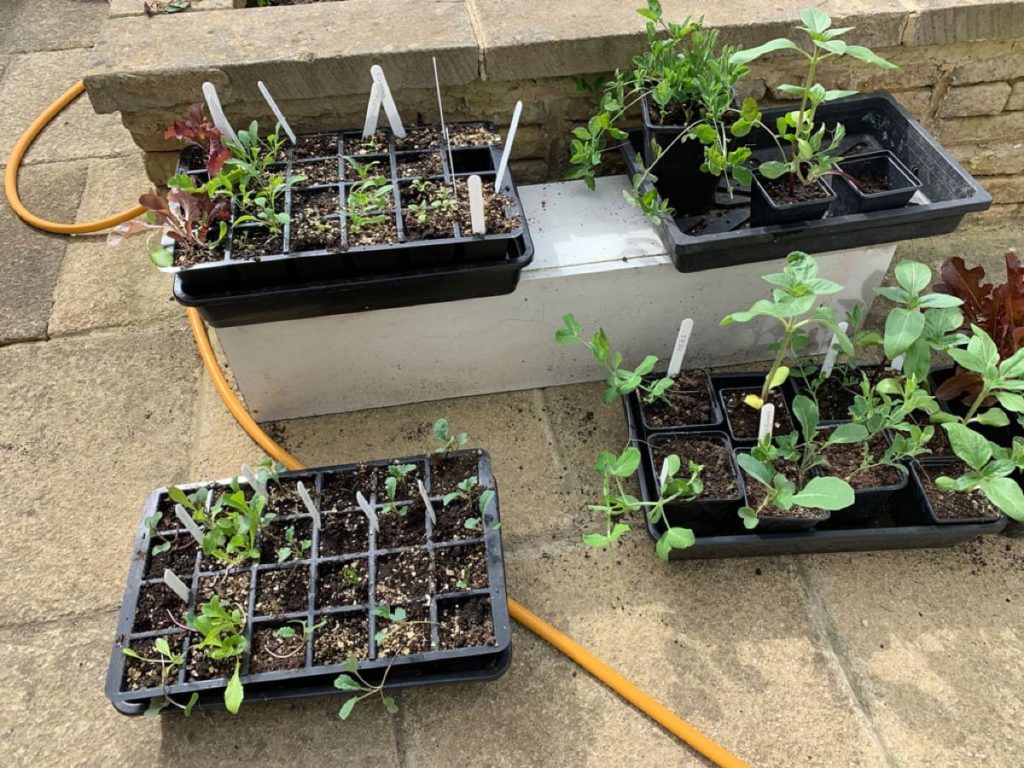
There are some small things you can do to ensure success when starting seed indoors.
Watering
One thing that seedlings will not tolerate is dry soil. And this can happen fast when planted in such a small cell or pot.
You can mist them daily with a water bottle, or water them from the bottom.
I put water in the tray that the pots or cells are in. Once they are done drinking, I pour the excess water, for any plant will die with too much water.
They will need water about once a day until they grow their first set of true leaves (the second set of leaves you will see), then you can water a little less.
Leggy Seedlings?
Once they start growing, you’ll want to look for leggy seedlings. What you’ll see is an extra-long, thin, sometimes pale stem. There will be a couple of inches or so between the soil and the first set of leaves.
A few things can cause leggy seedlings:
- Not enough light
- Seedlings kept on a heat mat
- Too much fertilizer
- Too crowded
- Too dry
- No air movement
If you notice your seedlings looking leggy, look back at their care, and see if any of these fit. If they do, change the care and most should do fine.
What’s this about air movement?
Starting seed indoors takes away a significant thing that keeps them healthy… the wind.
Natural wind helps a young plant build a stronger stem to withstand it. Think of it as bodybuilding for plants!
Seeds started indoors don’t get that unless we help.
All you need to do to mimic wind is to have an oscillating fan gently blowing across the seedlings all day. Have the fan oscillate, and set it on low.
Most experts agree to have a fan run 24 hours a day, but at least have it going while your grow light is on.
You can plug it into the timer, so you never forget it!
How to feed seedlings
Once the SECOND set of true leaves grow, then you can start feeding fertilizer. I use all-purpose, water-based fertilizer for all of my seedlings.
Dilute the fertilizer to half of what the manufacturer suggested amount is and feed about once a week.
Once they are outside, they can be fed the full dosage of fertilizer to whatever the seed packet says they need.
7. How to harden off seedlings
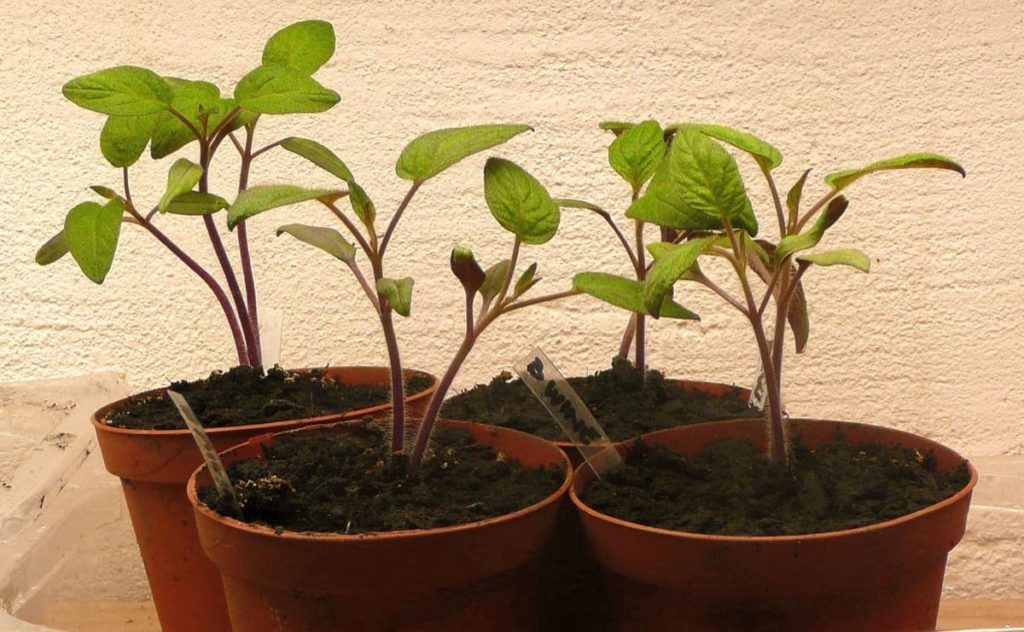
What is hardening? Its getting your tender seedlings ready for the great outdoors.
Starting seed indoors keeps them out of the elements, and this includes the sun.
If you planted your little seedlings outside without getting them used to these elements, they would either take a very harsh beating or die.
Most seedlings not hardened off properly will never truly recover their appearance, and unfortunately, I say this from experience.
To harden off:
- Place seedlings in sun-dappled (mostly shade), protected area for an hour or two the first day.
- Do this daily, adding an hour or two to each day.
- Each day, add a little bit more sun to their protected area.
- Remember to add the sun only according to their care. You won’t expose shade-loving plants to full sun just to “harden them off.”
- Plan for at least 7-10 days of this process until your seedlings are hardened off.
- Monitor them when they are outside. If seedlings are wilting, they may be getting too much sun too quickly.
- Keep soil moist. It dries out quickly at this point!
- Make sure animals, birds, or other critters don’t eat or dig up your babies.
PRO TIP: You can begin hardening off plants before your last frost if the temps are warm enough during the day.
8. How to transplant them outside
Starting seed indoors is so rewarding. Equally rewarding is planting your babies outside!
Don’t be too eager, though. Check these conditions first as seedlings are tender little plants that need to be babied for a while!
- Make sure you’ve already had your last frost.
- Look at your extended forecast. You want to make sure the temps don’t fall too low. Often the recommended temp is on your seedling packet.
- Try to plant your seedlings on an overcast day.
- Make sure the soil isn’t too cold. It will shock your seedlings.
Remember that your soil may have compacted during winter. If so, just “fluff” it up a little.
Gently plant your seedling in its designated new home and water thoroughly to settle the roots and ward against shock.
PRO TIP: To ensure phosphorus is available to the roots, you can mix 2 Tbsp of a 15-30-15 starter fertilizer in a gallon jug of water. Feed each seedling one cup for about five days. Phosphorus promotes strong roots.
If you notice a cold front coming, you can always protect your new seedlings by placing some stakes in the ground and covering with a sheet or cover them with cloches if you have them. Be creative! I’ve even used boxes.
9. Do they need protection?
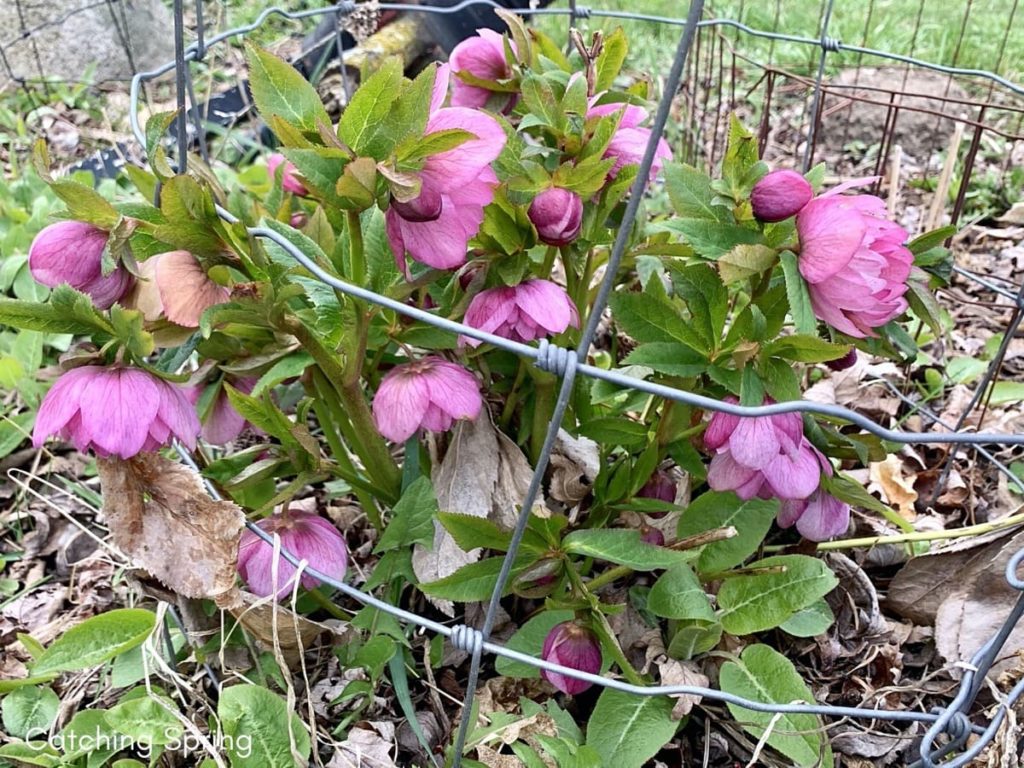
If you’ve hardened them off properly and provided the care above, your seedlings should be healthy, good, and strong.
The protection I am referring to here is mostly critters.
I grew some mountain mint for a friend last year. He planted them, put some larger gauged wire around them, and the next day they were dug up and eaten.
It was most likely chipmunks because he has a lot of them.
Now PLEASE DO NOT think you need to somehow get rid of the critters in your yard. I beg you not to do this, for this is their world too.
But what you MAY need to do is place protection around the seedlings until they are big and strong.
Ask yourself these questions:
- Do you have chipmunks, squirrels, or bunnies? Consider a smaller-gauged wire garden fencing.
- Do you have chickens? Use chicken wire or any fencing to keep them from scratching up your seedlings.
- What about cats? They may dig up your seedlings while trying to find a place to call a bathroom. The same wire you use for chickens can protect against cats.
- Have dogs? If they are allowed into your garden, they also may accidentally dig up seedlings.
I use some wire snippers and cut the exact amount I need to circle whatever plant I am trying to protect.
Usually, this is by cutting the wire in half. This leaves spikes, which I dig into the ground to keep my cage in place.
I have chickens, bunnies, and squirrels, and this works perfectly.
I really hope this guide to starting seed indoors has been helpful to you. I walked through each step in my mind and thought about all the questions I had when I first started.
I also thought about the issues I experienced and how I made it easier for myself and healthier for my seedlings the next time around.
If you have any other questions about starting seed indoors or anything related, please leave a comment below, and I’ll answer! 🙂
Thank you and happy planting!!
Leave a Reply