Most of our tender bulbs are easily dug up and stored in a cool, dark place. But the “how” and “when” often stump us, and we are left with dead plants we could have saved for next year. Here are 7 tips for overwintering your beautiful tender bulbs.
7 Helpful Tips For Storing Tender Bulbs
What are tender bulbs?
First, let me explain a hardy bulb. A hardy bulb requires winter to produce flowers. This can happen by enduring colder winters or cold-stratification for 2-4 months. They need the cold.
Examples of a hardy bulb are tulips, daffodils, hyacinth, lily, or crocuses.
Tender bulbs do not need this cold. As a matter of fact, they will die if they are left in the frozen ground in winter. These bulbs respond more to the length of daylight and how warm it is.
There are also semi-tender bulbs, meaning that parts of the US can grow them year-round. Make sure you check your USDA hardiness zone and read all labels on your plants to see if you need to overwinter them or not.
1. Which bulbs are “tender bulbs?”
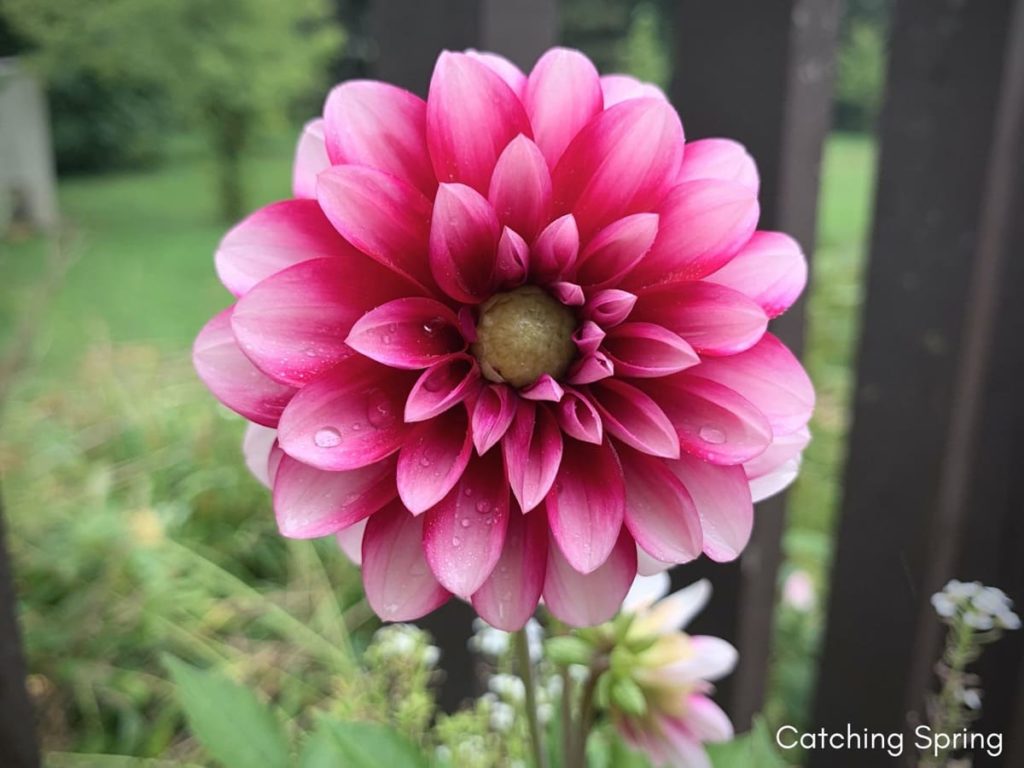
Again please refer to your growing zone when labeling tender bulbs as you may be able to leave them in the ground.
Generally, these following bulbs may need to be overwintered:
- Canna Lily: Hardy to zone 7
- Gladiolus: Hardy to zone 8
- Tuberous Begonia: Hardy to zone 10
- Amaryllis: Hardy to zone 9
- Dahlia: Hardy to zone 8
- Calla Lily: Hardy to zone 7
- Windflower: Hardy to zone 6
- Elephant Ear: Hardy to zone 9
- Caladium: Hardy to zone 9
- Acidanthera: Hardy to zone 7

2. Understanding the types of bulbs
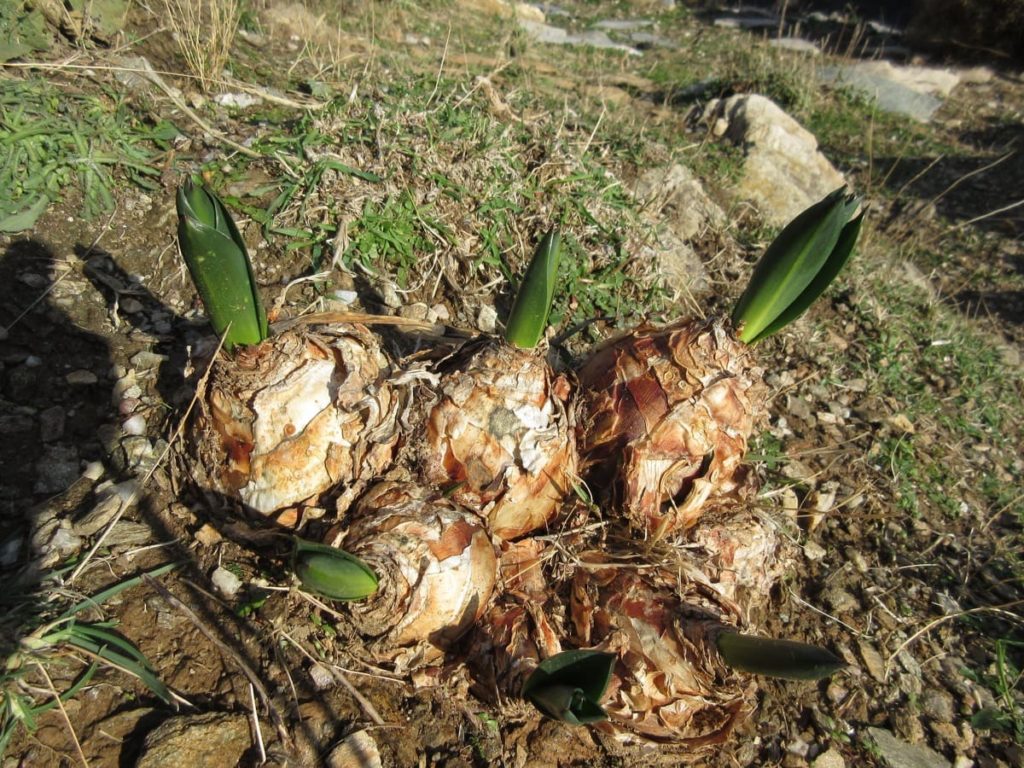
Without getting too in-depth and scientific on this, I want to quickly explain the types of bulbs in your garden.
Mostly so you don’t think there’s anything wrong with your tender bulbs as you dig them up!
When you hear people talk about bulbs, they refer to a group of plants with underground storage organs (geophytes).
There are actually five types of bulbs:
- True bulbs
- Rhizomes
- Corms
- Tubers
- Tuberous roots
I just feel it’s important to know the differences so you can adequately dig them up, grow them, and care for them.
***Please note that some of the examples are perennials, it’s just to help you understand shape and size of bulbs.
True bulbs
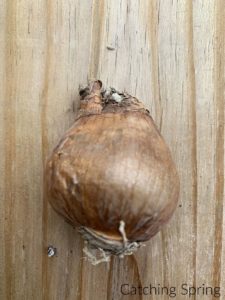
True bulbs are the rounded, basic bulb that we are all thinking of when we hear “bulbs.” Think of a daffodil bulb.
True bulbs have the roots on the bottom and the spike on top, which becomes your plant. They must be planted root-down to grow.
Examples of true bulbs are:
- Onions
- Daffodils
- Tulips
- Hyacinth
- Amaryllis
- Lily
Rhizomes

Rhizomes are actually like fat underground roots that grow horizontally. As they grow, they sprout off individual new plants that begin growing next to the original.
They can sprout off new plants along the entire length of the rhizome. For this reason, they can be propagated in sections if you wish.
Examples of rhizomes are:
- Common milkweed
- Lily-of-the-Valley
- Bearded Iris
- Canna lily
- Calla lily
Corms
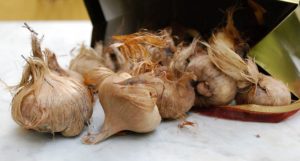
If holding a corm in your hand, it looks a lot like a true bulb. The difference is in how it reproduces (from the stem instead of the “bulb.”)
The corm doesn’t grow in layers like the true bulb (think of an onion), but it has a solid mass that supplies food to the plant.
As the plant grows, it consumes all of the corm’s food, which then shrivels up. New baby corms are then produced next to it, and these are next year’s flowers.
Examples of corms are:
- Crocuses
- Gladiolus
- Elephant Ear
- Taro
Tubers

True tubers are underground stems that have “eyes” where the plant will sprout.
They don’t have a base for the roots to grow. Instead, roots grow all over the sides and bottom of the tuber. They can be propagated like rhizomes by cutting them into pieces. (take caution on this practice as they may not grow if cut too small)
Examples of tubers are:
- Caladium
- Potatoes
- Water lily
- Horseradish
- Radishes
- Beets
- Carrots
- Turnips
- Parsnips
Tuberous roots

Tuberous roots look very similar to tubers except that it isn’t considered a swollen stem, but a root.
Tuberous roots don’t have eyes but often grow in clumps that sprout from one end. You’ll see a new sprout coming from the stem, though, and not the root.
Examples of tuberous roots are:
- Sweet potatoes
- Dahlia
- Daylily
- Begonia
- Ranunculus
I could go even deeper into the types of bulbs, but that would be for another article, probably not mine! Haha! It can get confusing, but I hope this explained it well. It will help you understand your tender bulbs!
3. Digging tender bulbs

The rule of thumb for digging tender bulbs is to wait until frost. After the first frost, the plant has usually wilted and died, but the bulb is still safe underground where it’s still above freezing.
I will then cut the plant down until there are just a few inches of stem above ground.
The easiest way to dig tender bulbs is with a digging fork or a shovel. I prefer a digging fork if I do it myself, as I totally suck at digging! I tend to never go deep enough, which is why my husband usually helps with the shovel!
My next step is to shake off the soil. Some people will trim the roots, but I have never felt the need to.
Just make sure to be careful while digging, so you don’t puncture, cut or bruise the bulbs. This can invite pathogens into your bulbs and ruin the rest of them.
***Special care must be taken with dahlia tubers; be sure not to rub off the skin while digging them up.
4. How to store tender bulbs
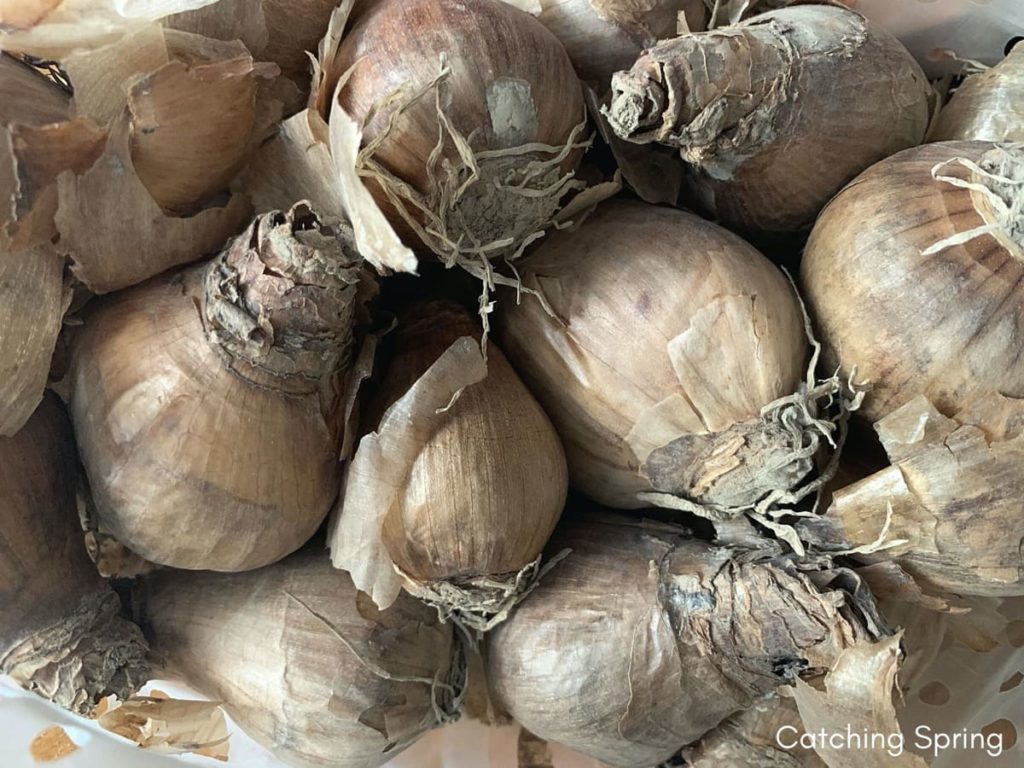
I’ll be honest here and say that I’ve stored Canna lily bulbs in a large garbage bag in my basement, and they kept just fine and grew like crazy the next year.
Most articles you read will tell you to do a little more than that, though. I actually just ordered peat moss so that I may store my tender bulbs correctly this year!
You’ll want to lay your bulbs out in a sheltered area so they may dry out thoroughly. This usually takes a day or two. Notice that some bulbs take longer and dry them accordingly.
The bulbs will need to be stored in a dark, dry place away from rodents, who may try to eat them.
Plastic containers with lids are great places to store them. Just layer some peat moss, sawdust, vermiculite, or even newspaper on the bottom and place your tender bulbs on top of that.
Don’t let the bulbs touch either other while being stored. You can place another layer of bulbs on top as long as they are separated by the peat moss.
I store my bulbs in a dark room in my basement until spring. You can use a closet or a cool place if you don’t have a basement. Just be careful the area you’re storing them doesn’t get too cold.
Definitely not colder than 35-40°!
Super important to label your bulbs! I’ve had bulbs that when spring arrives, I have no idea what they are. You think you’ll remember, but if you have a lot, it’s easy to forget.
Special note on storing corms
Corms need about 2-3 weeks of curing before you store them. What this means is drying in warm air. Lay them out like you would any other bulb, but make sure the area is warm.
Also, don’t wash corms as they have a special paper covering that shouldn’t get wet before storage.
5. Troubleshooting stored bulbs
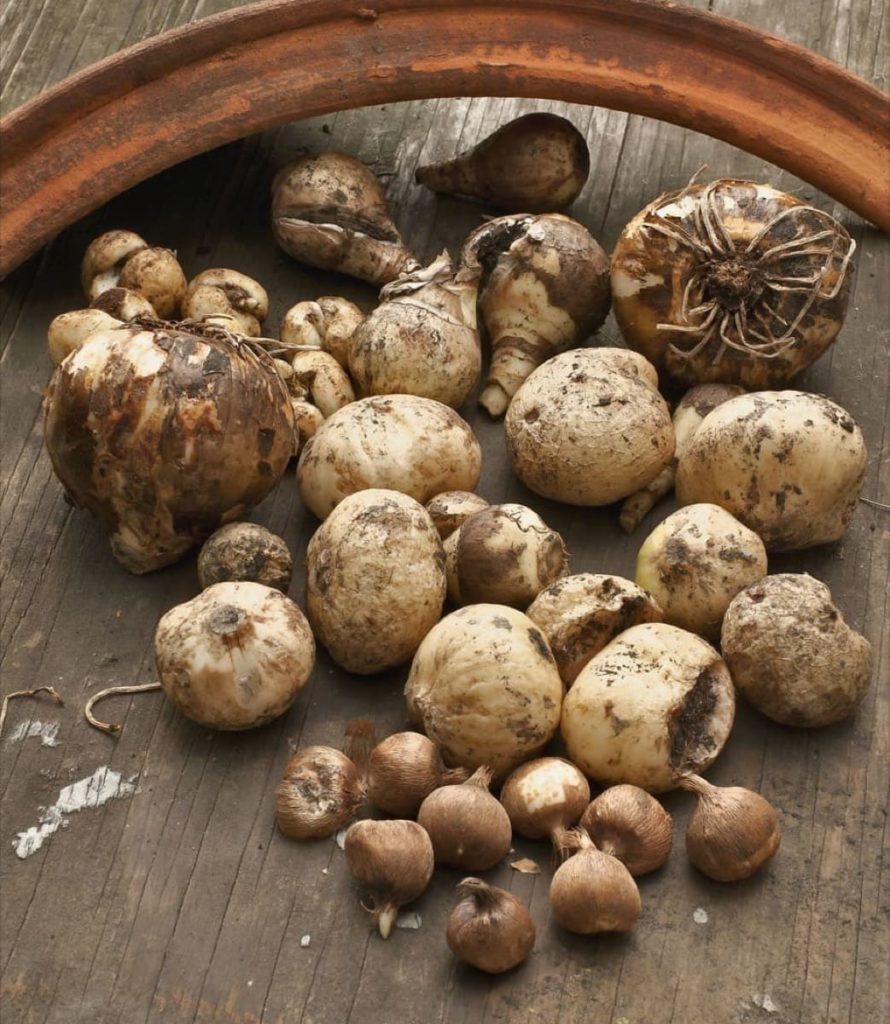
The first thing you want to look for upon digging up your tender bulbs is any that are diseased, rotting, or shriveled.
These you want to throw away, and not in the compost pile.
Once stored, you’ll want to occasionally check on your bulbs to make sure none are rotting or getting soft spots.
Small soft spots can be safely cut with a sterile knife. You’ll want to throw away any that are rotten or very shriveled.
Also, toss out any packing material that has become moldy.
If you see any bulbs beginning to shrink or wrinkle, you can very lightly mist the packing material with water. Check your bulbs a little more often if you do this to make sure nothing is becoming moldy.
When storing bulbs, rhizomes and tubers usually like a little humidity (this is where the peat moss comes in handy). Bulbs and corms usually prefer dark and dry. So when troubleshooting, its good to notice where you are storing them.
6. Overwintering as house plants
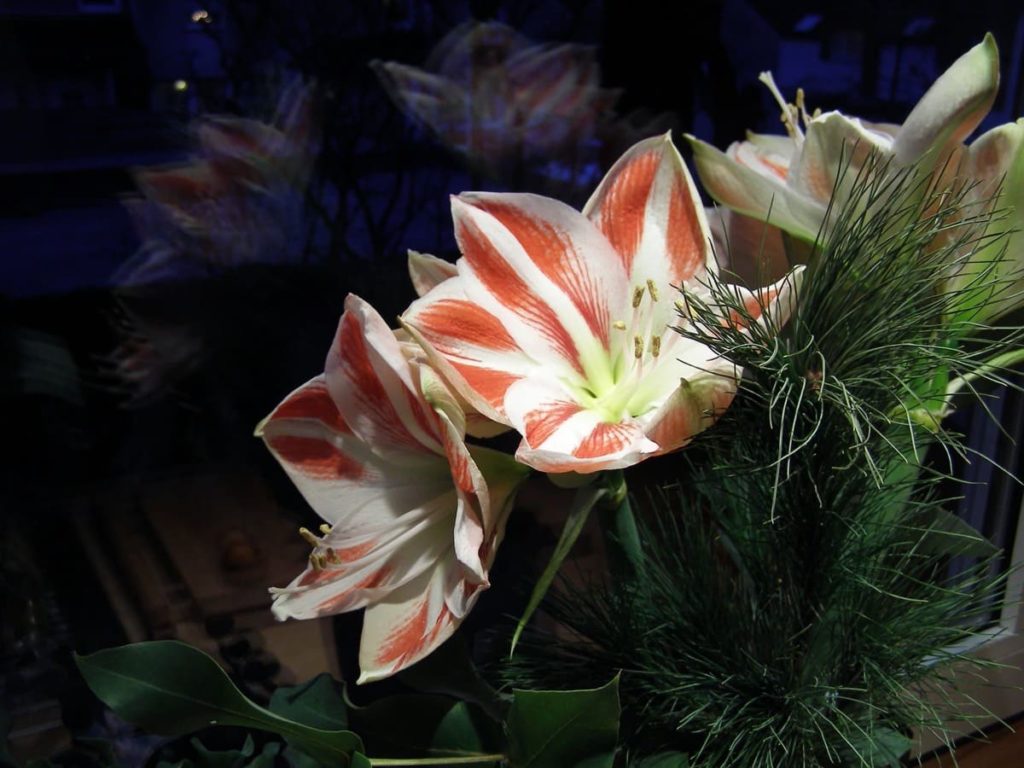
If you have room and would like to experiment, you can plant your bulbs into pots and overwinter them as house plants.
Just be aware that plants have their own schedule and are sensitive to temperature and light changes, so they may flourish or barely hang on.
I have not grown any of my bulbs inside during the winter. I guess I just feel that storing them kind of gives them a break.
I have had friends do this, though, and their plants did fine.
7. Replanting in spring
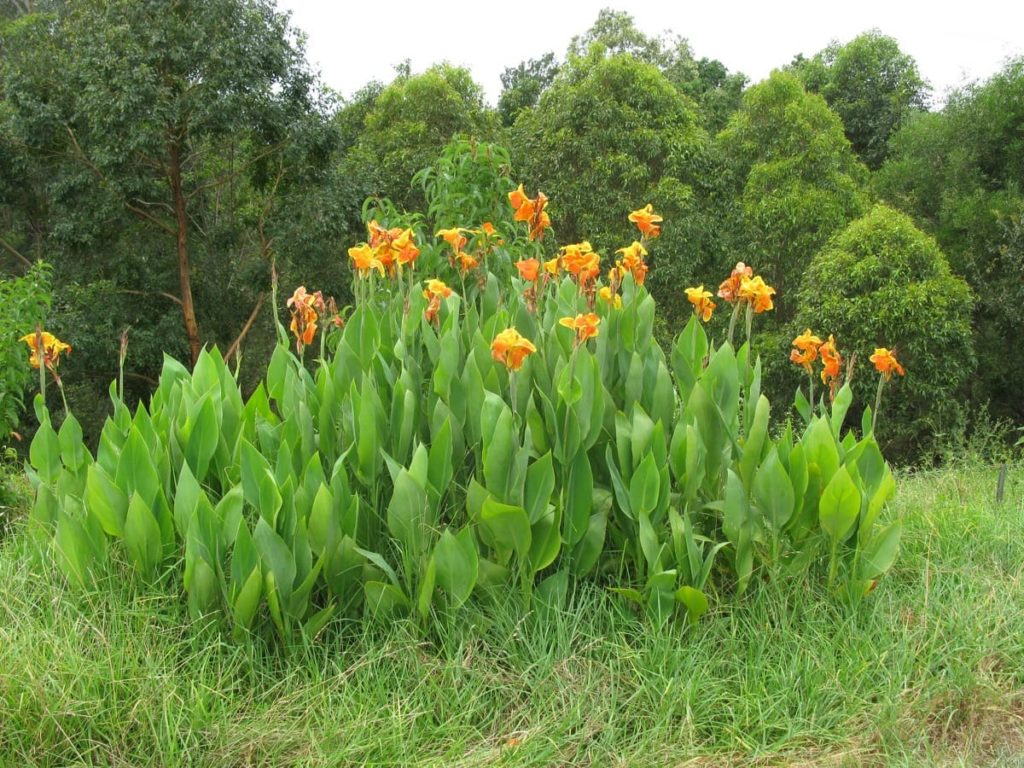
The excitement of planting in spring is addicting! The same goes for replanting our tender bulbs!
You’ll want to make sure all danger of frost is over, and the ground is warm. Then you can plant your bulbs.
This includes any soil preparation or adding organic material that you would do for any of your other plants.
If you are having a long winter, continue to check your bulbs. Some of them will begin to come out of dormancy, even if it’s still too cold outside to plant them.
If this is the case, plant them temporarily in a pot with quality soil until they can be safely planted in the ground. You can also do this if you want a head start.
Tender bulbs can also be divided at this time if you wish!
Storing your tender bulbs by overwintering them can help you save all of your favorite flowers. It will also help you save quite a lot of money as you will be replanting, instead of re-purchasing!
I hope you found this article helpful. If you have any other tips or questions about storing tender bulbs, please leave a comment below!
Leave a Reply